Conserv's customers often have complex needs around how their spaces are organized, and how sensors are placed within those spaces. To support these needs, Conserv uses the concepts of "Spaces" and "Locations." Spaces are just that, spaces in which things live and in which sensors may be used to measure things. Spaces are located within Locations, which can be helpful in organizing large fleets of sensors.
Table of Contents
- Set Up Your Hierarchy in Conserv Cloud
- Add a New Location or Space
- Edit and Manage Locations and Spaces
- Add Sensors
Set Up Your Hierarchy in Conserv Cloud
Note
The hierarchy within Conserv Cloud, largest to smallest, is Location > Space > Sensor.
Add a New Location or Space
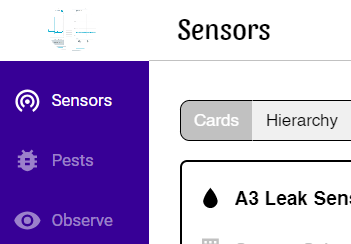
To add a new location or space head to the "Sensors" page by clicking the icon in the top of the left navigation panel.
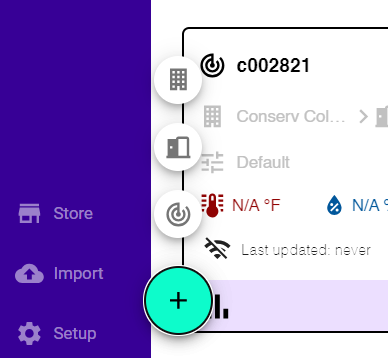
In the bottom left corner of the page, you'll see a teal button with a white plus sign. Hover your mouse over this button, and three options will appear above it.
Locations
The location icon looks like a little building with windows. To add a new location, click the option to "Add A Location."
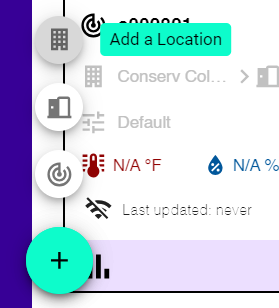
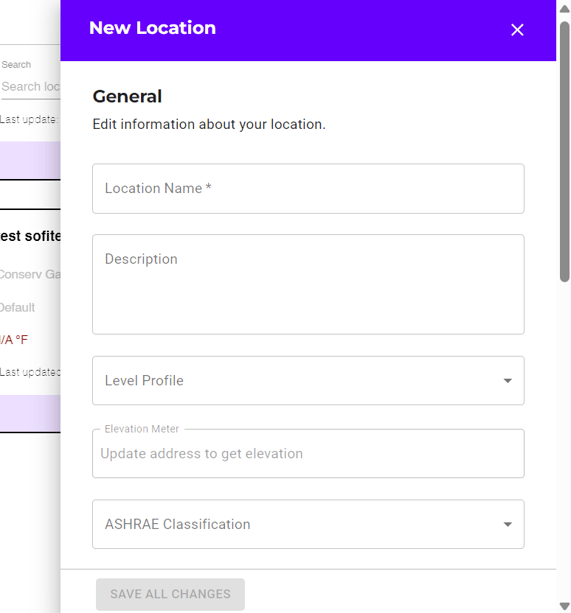
A drawer will appear from the right side of the page; fill out the necessary fields to finish creating your new location.
Spaces
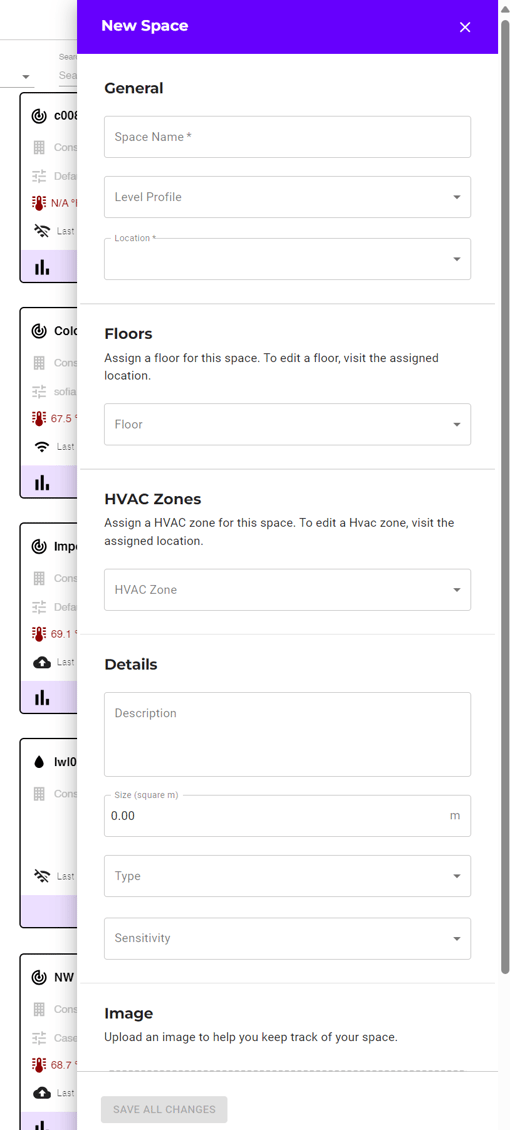
The Space icon looks like an open door. To add a new space, click the option to "Add A Space."
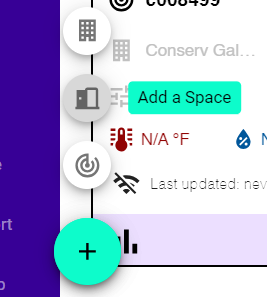
A drawer will appear from the right side of the page; fill out the necessary fields to finish creating your new space.
Edit and Manage Locations and Spaces
To edit and manage your locations and spaces simply click the name of the location or space you'd like to edit. The editing drawer will appear on the right side of the page.
Important tip: Unless you are only changing sensor names, we recommend changing names of spaces and locations in the Hierarchy view and NOT in the Card view. This is because Space and Location names will affect all the sensors inside those areas. Making these kinds of changes is best in the Hierarchy view where you can get a full picture of what you are changing and what it's affecting.
Add Sensors
Important: Conserv sensors get added for you from our end. We have to run a special linking procedure to get your new Conserv devices to connect to the software. When you get new Conserv sensors, they will already be in your dashboard before you get them.
The Add sensor button in this screen only applies to non-Conserv sensors which you will be manually importing yourself.
If you notice are missing a Conserv sensor, read this article. We will need to add it for you. If you try to manually add a Conserv sensor using the Add a sensor button, it will not work.
To assign already existing sensors to spaces, follow the steps in this article: Assigning Sensors to Spaces
Location for gateways
Gateways are special and different from sensors. They do not need to be placed in a specific Location or Space in your software hierarchy.
Interesting note
Sensors do not discriminate among gateways. Sensors will simply connect to the best gateway they "see". In other words, they will scan for the strongest gateway signal and use that. For this reason, gateways do not need to be "assigned" to any particular place in your hierarchy.