Create Observations
Set your future self and your team up for success by making observations on your collection environment.
Picture this all too common scenario.
You're applying for a loaned object and you need to explain a temperature spike that happened in your collection last summer, but you don't remember what happened.
What if you could annotate your graphs so that as things are happening you're taking notes and setting your future self up for success — that's the Conserv "Observations" feature.
There are several ways to create an observation, through Conserv Cloud and also through the mobile app. Let's walk through them:
1. Creating/editing an observation through Conserv Cloud Analytics
On the Analytics graphs, you can easily note an observation by right-clicking any data point and selecting the ![]() icon from the menu. This feature works the same way on both Analytics v.1 and v.2.
icon from the menu. This feature works the same way on both Analytics v.1 and v.2.

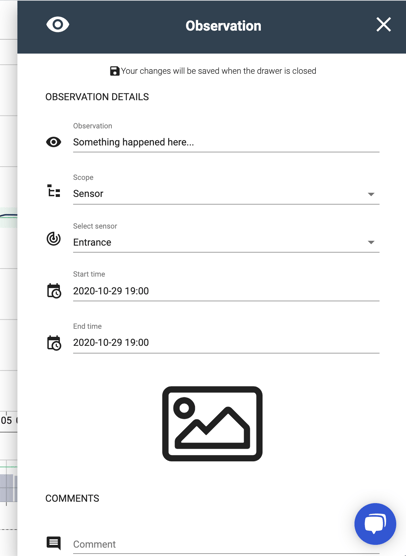
A drawer will appear on the right side of the page. Follow the prompts, and your new observation will save when you close the drawer.
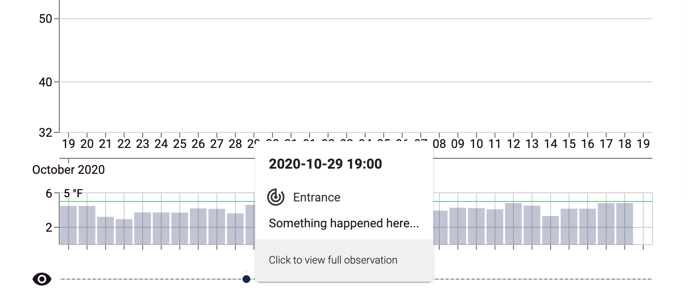
It will then appear as a dot on the Observation Timeline below the graph. To view/edit this observation, click on its associated dot.
2. Creating/editing an observation through the Observations page
To get to the Observations page in Conserv Cloud, click the icon in the left navigation that looks like an eye:
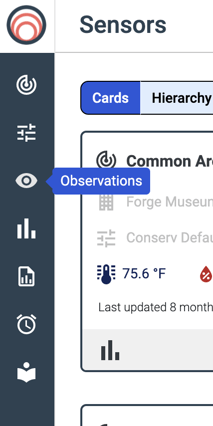
This will take you to the page where you can create and manage your observations. To add a new observation, click the blue button in the bottom left with a white plus sign.
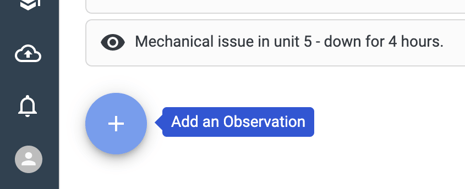
A drawer will appear on the right side of the page. Follow the prompts, and be sure to save your new observation.
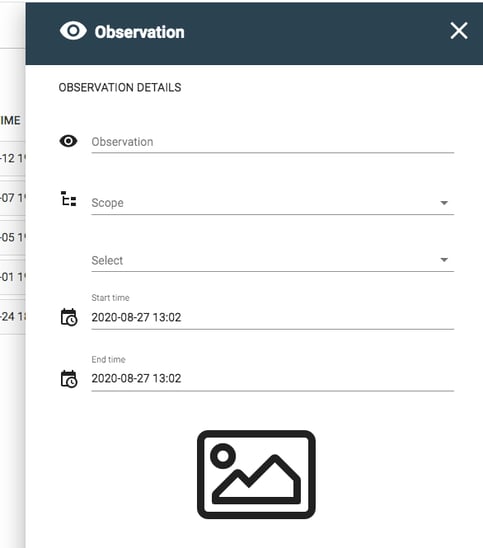
To edit an observation, click the name of the observation and its editing drawer will appear on the right side of the page.
3. Creating/editing an observation through the Conserv.io mobile app
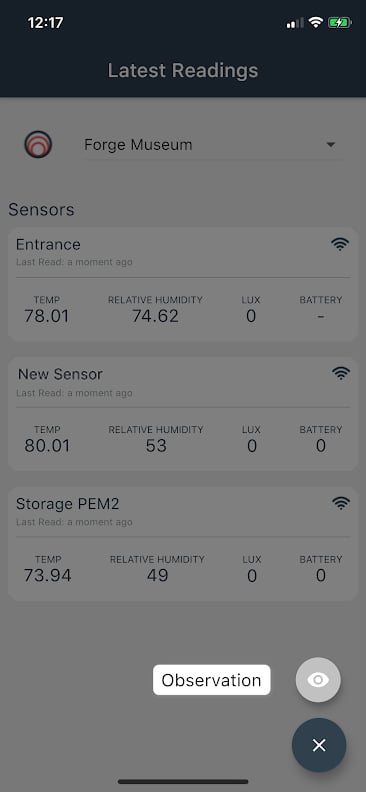
On the mobile app, you should see a blue circle containing three white lines in the bottom right corner of the screen. Tap that button, and you'll see the option to create an observation. Follow the prompts, and be sure to save your new observation.
