Unpack the Box
Ensure that all of the items are included in the box before you begin the setup.
- 1 Point Leak Detector with probe
- 2 AAA batteries
- 1 3M adhesive patch for mounting
- Label with device IDs and keys
Important:
Keep the labels with the keys and IDs until you confirm that all of your Point Leak Detectors are working.
Identify a Point Leak Detector in Conserv Cloud
Like all Conserv products, your Point Leak Detectors should be pre-configured in Conserv Cloud by the time they arrive. To identify a specific Point Leak Detector, check the label on the side for the serial number (SN), which begins with LWL followed by eight numbers. This is located just above the "Made in China" line. If you do not see your Point Leak Detector on your dashboard, send a picture of this sticker below to Customer Support through a support ticket so we can add it for you.


This is what a point leak detector looks like on Conserv Cloud. Notice the card does not have the last temperature, relative humidity and dew point readings like regular SCS cards. That is because point leak detectors do not take readings. Their purposes is only to detect the presence of water.
Install the Batteries
After you know which device you are setting up, install the batteries. Turn the Point Leak Detector over so that you are looking at the back of the device.
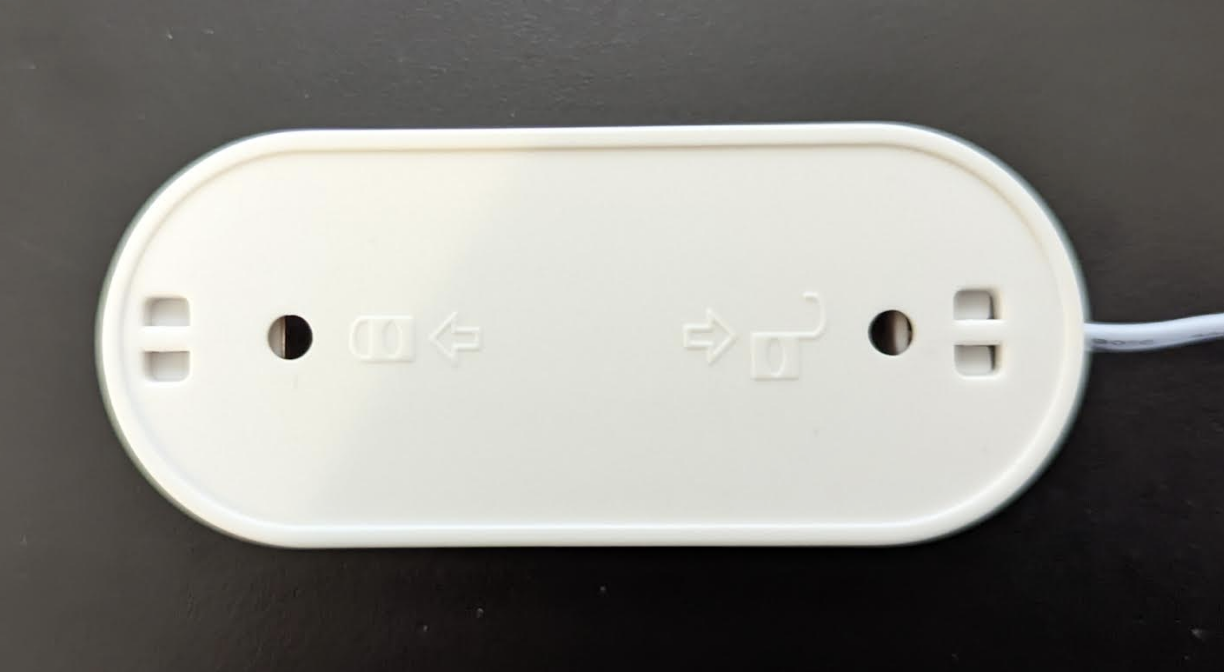
Next, slide the back panel to the right, in the "unlock" direction:
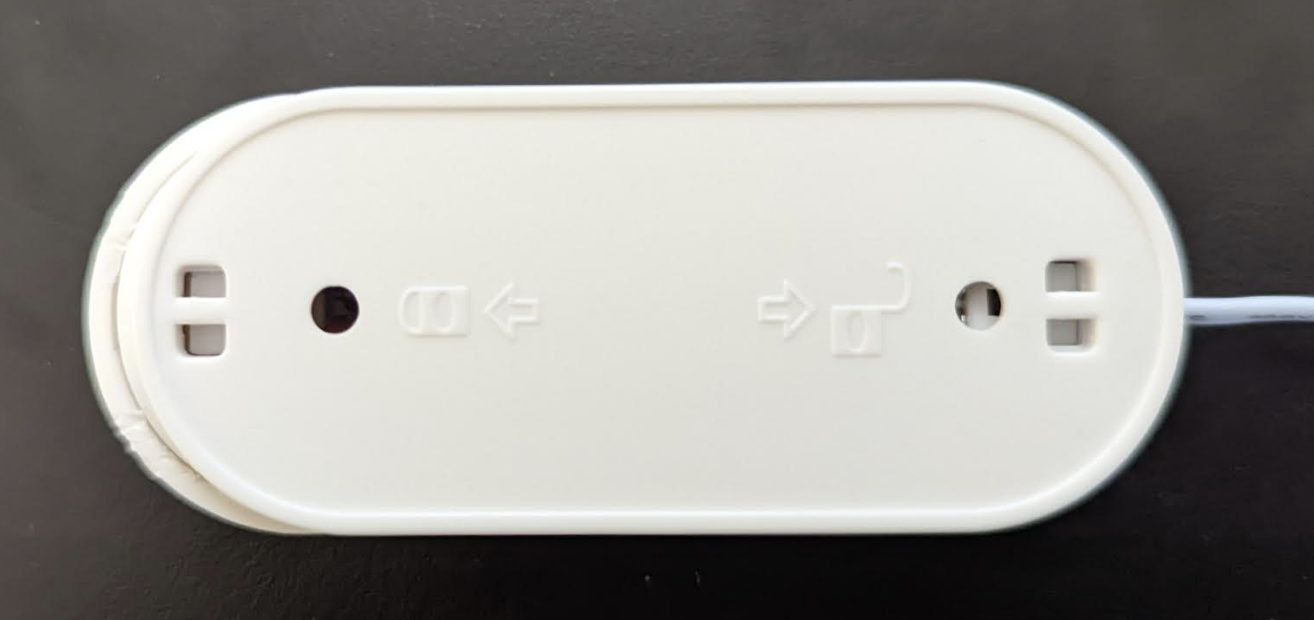
Remove the back panel, and insert the batteries:

As soon as you insert the batteries, the light on the front of the device will flash, and it automatically starts up and joins the Conserv network.
Set Up and Test Point Leak Detection Events
Important
Just because your Point Leak Detector is online does not mean that you will receive leak alerts right away. You must configure leak events like any other events and notifications in Conserv Cloud. See Set Up Alerts and Events to set up leak detection events.
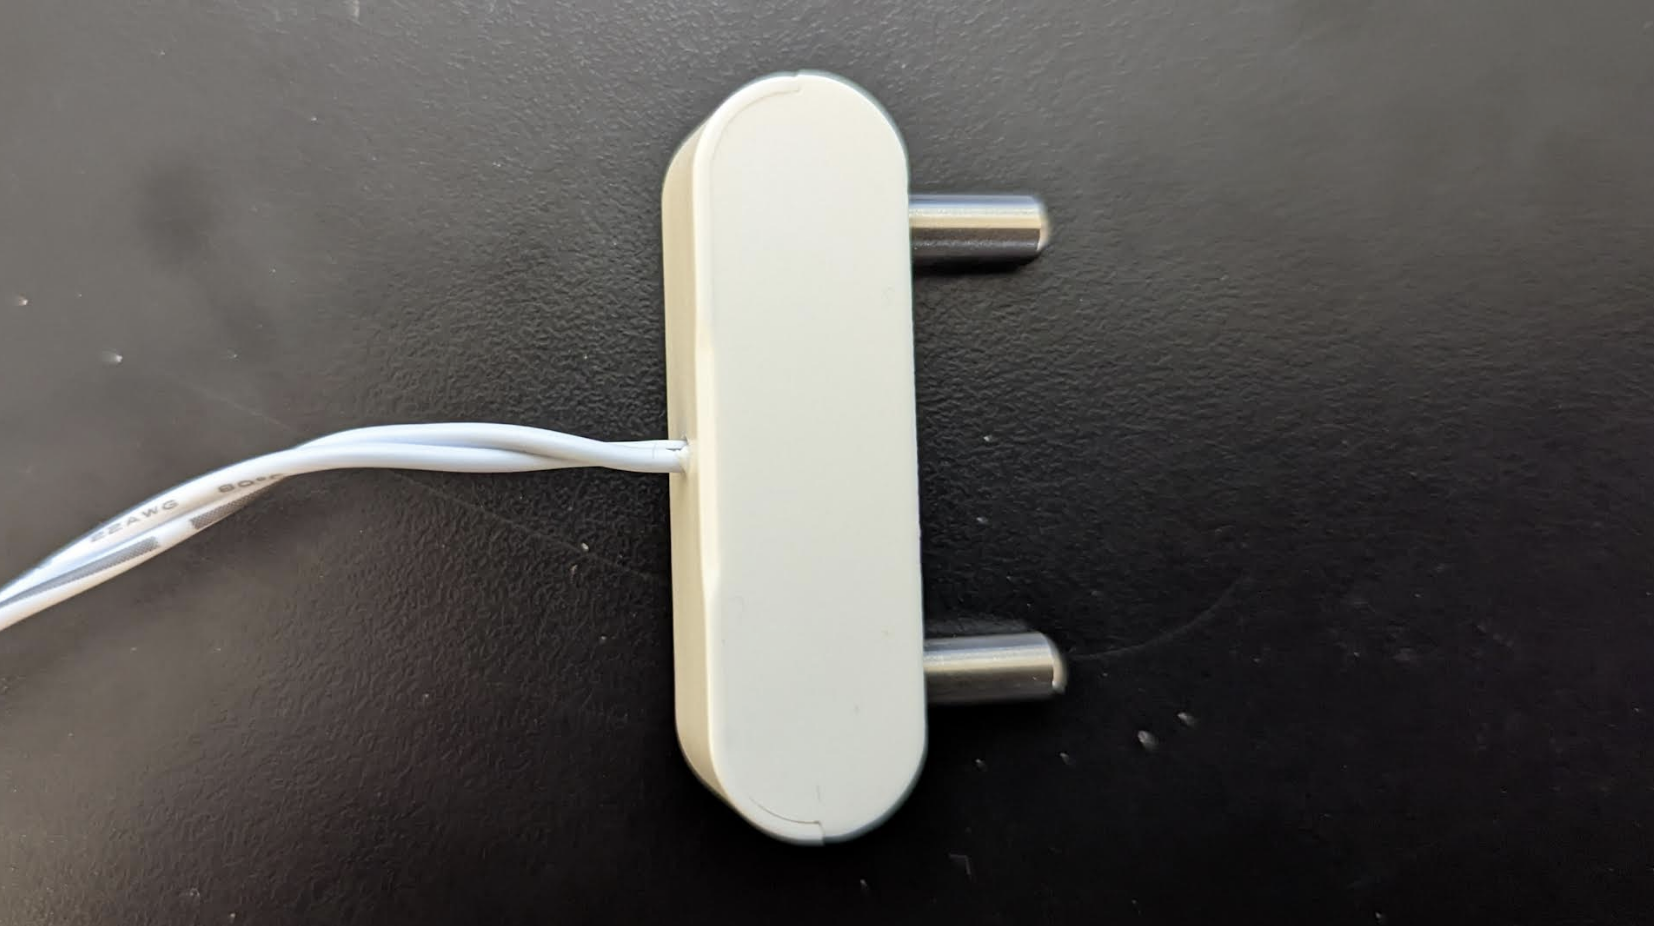
After you set up your leak detection event, you should test it to confirm that the Point Leak Detector is functioning correctly. The leak probe detects moisture between the two pins. You can test it by:
- Dipping the probe into a dish of water.
- Carefully placing the probes in the stream of an open tap.
- Pressing it into the palm of your hand. (This doesn't always work)
- Placing a piece of conductive metal across the two pins.
After your Point Leak Detector is set up, the device regularly messages Conserv Cloud with its online status.
Point Leak Detectors are set to check in every 24 hours by default. To enhance your security, Conserv can adjust this to every 85 minutes by sending a snippet code to your device. If your Point Leak Detector does not report every 85 minutes, submit a support ticket to request this change.
After the setting is changed, wait until the Point Leak Detector’s next scheduled check-in for the update to take effect.
Install the Point Leak Detector
The final step is to install your Point Leak Detector. Conserv recommends that you mount the device on a wall or cabinet, ensuring that the body is elevated off the floor to avoid potential water exposure. Position the probe in the area that you want to monitor for leaks.
Placement Tip:
The probe is highly sensitive. If it comes into contact with a damp floor, even without standing water, it can trigger an alert. To prevent false positives, ensure that the probes are positioned just above the surface.
Additional Resources
If you have any issues, contact the Support Team for assistance.